How to Make a Countertop from Wood: A Step-by-Step Guide
How to Make a Countertop from Wood: A Step-by-Step Guide. Making a Countertop from wood may seem complex, but it’s achievable. With the right tools and materials, anyone can create a stunning wooden Countertop.
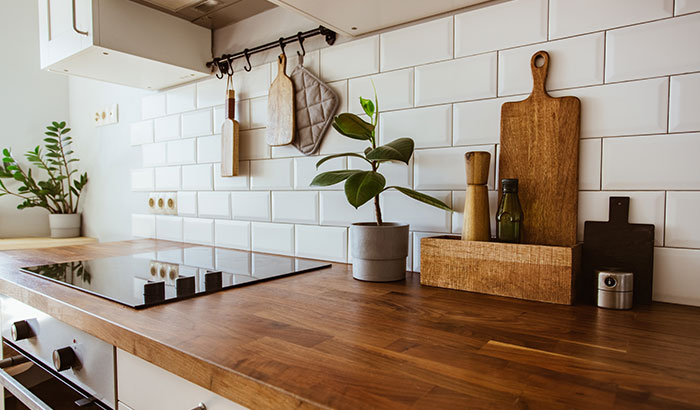
Wooden countertops add warmth and character to any kitchen. They are durable, versatile, and can be customized to fit your space perfectly. Whether you’re renovating your kitchen or building a new one, a wooden countertop offers a unique touch. In this guide, you’ll learn the steps to create a beautiful and functional wooden countertop.
From selecting the best wood to finishing the surface, each step is straightforward. Ready to transform your kitchen with a DIY project? Let’s dive into the process of making a wooden countertop.
Materials And Tools
How to Make a Countertop from Wood: A Step-by-Step Guide is a rewarding DIY project. To get started, gather the necessary materials and tools. Below, we outline the essential supplies and required tools.
Essential Supplies
- Wood: Choose hardwood like oak, maple, or walnut. These are durable and attractive.
- Wood glue: Ensures a strong bond between wood pieces.
- Sandpaper: Use various grits for smooth finishes.
- Wood stain: Enhances the natural beauty of the wood.
- Polyurethane: Provides a protective finish.
- Screws: Use for additional support.
Required Tools
- Table saw: Cuts wood to the desired size.
- Clamps: Holds wood pieces together while drying.
- Orbital sander: Smooths the surface efficiently.
- Drill: Creates holes for screws.
- Tape measure: Ensures precise measurements.
- Brushes: Applies stain and polyurethane.
- Safety gear: Includes gloves, goggles, and a mask. Keeps you safe while working.
Choosing The Wood
Choosing the right wood is crucial for a durable and beautiful countertop. The type of wood you select will affect the look and longevity of your countertop. Let’s explore the different types and factors to consider.
Types Of Wood
Different woods have unique properties. Hardwoods like oak, maple, and walnut are popular choices. These woods are durable and can withstand wear and tear. Softwoods such as pine and cedar offer a more rustic look. They are less durable but easier to work with. Exotic woods like teak and mahogany provide a luxurious feel and are resistant to moisture.
Factors To Consider
Consider the wood’s hardness. Harder woods last longer and resist scratches. Softwoods may wear down quicker but are easier to shape. Think about the color and grain pattern. Different woods offer various looks, from light and smooth to dark and textured. Consider the wood’s moisture resistance. Kitchens and bathrooms need wood that can handle humidity. Finally, think about your budget. Some woods are more expensive but offer longer-lasting beauty.
Measuring The Space
requires precise measurements of your space. This ensures how to make a countertop from Wood fits perfectly. Accurate measurements are crucial for a professional finish.
Taking Accurate Measurements
Use a tape measure to get the length and width. Measure both the front and back of the area. This helps to identify any inconsistencies. Note down the measurements carefully.
Ensure the tape measure is flat and straight. Curved or angled measurements can lead to errors. Double-check your measurements for accuracy. It’s better to measure twice than to cut incorrectly.
Marking The Dimensions
Once measurements are taken, use a pencil to mark them on the wood. Make sure the marks are clear and visible. A straight edge or ruler can help in drawing precise lines.
Check the marked dimensions against your initial measurements. This ensures consistency. Accurate marking is vital for a well-fitted Countertop.

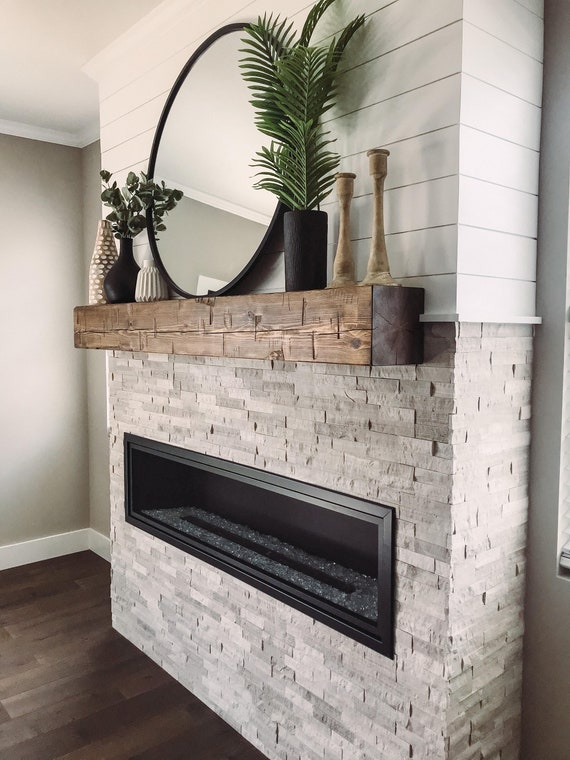
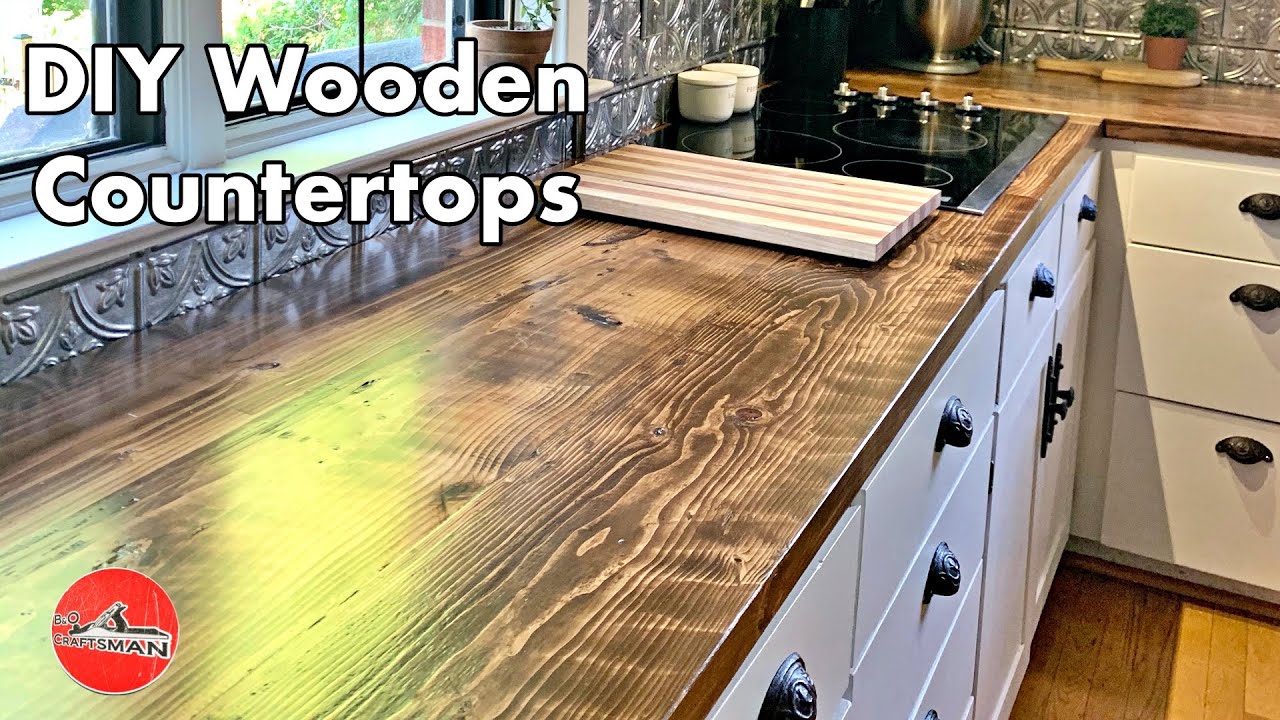
Credit: homeon129acres.com
Cutting The Wood
How to Make a Countertop from wooden countertop can add a beautiful, rustic touch to your kitchen. One of the crucial steps in this process is cutting the wood. This task requires precision and care. Let’s dive into the essential aspects of cutting the wood for your countertop.
Safety Precautions
Before starting, ensure you have all safety gear. Safety glasses protect your eyes from sawdust and debris. Wear ear protection to guard against loud noise. Gloves are essential to protect your hands from splinters. A dust mask prevents inhalation of harmful particles. Always work in a well-ventilated area to avoid fumes.
Cutting Techniques
Use a circular saw for straight cuts. Measure and mark your wood accurately. Follow your marked lines carefully. For curved cuts, a jigsaw is more suitable. Always cut on a stable surface to maintain control. Ensure your saw blade is sharp for clean cuts. Take your time to avoid mistakes.
Assembling The Countertop
Assembling a wooden countertop can be a rewarding task. It involves joining the wood pieces and using clamps to secure everything. This step is crucial for a smooth and sturdy countertop. Follow these steps to assemble your wooden countertop successfully.
Joining The Pieces
Start by arranging your wood pieces in the desired order. Ensure all edges align perfectly. Use wood glue on the edges of each piece. This helps to hold them together firmly. Press the pieces together and wipe off any excess glue.
Using Clamps
Next, place clamps along the length of the countertop. Tighten them evenly to avoid any gaps. Use enough clamps to cover the entire length. Check alignment as you tighten the clamps. Allow the glue to dry completely before removing the clamps.
Sanding The Surface
Sanding the surface of your wooden countertop is a crucial step. It ensures a smooth and even finish. Proper sanding prepares the wood for staining or sealing. Let’s dive into the details.
Choosing Sandpaper Grit
Selecting the right sandpaper grit is essential. Different grits serve different purposes. Here’s a simple guide:
| Grit Number | Purpose |
|---|---|
| 60-80 | Removing rough edges and major imperfections |
| 100-150 | Smoothing the surface |
| 180-220 | Final smoothing before finishing |
Proper Sanding Methods
To achieve a perfect finish, follow these steps:
- Start with a coarse grit (60-80). Sand along the wood grain.
- Switch to a medium grit (100-150). Smooth out the surface.
- Finish with a fine grit (180-220). Ensure a silky smooth finish.
Remember to keep the sanding block flat. Apply even pressure. Avoid creating gouges or dips.
After each sanding stage, wipe the surface. Remove dust and debris. This ensures a clean, smooth base for the next grit.
For the best result, use a sanding block or an electric sander. This maintains an even surface. Hand sanding can also work but requires more effort and control.
Take your time. Sanding is a process. Patience leads to a beautiful, smooth countertop.
Applying The Finish
Applying the finish to your wooden countertop is a crucial step. It enhances the wood’s beauty and protects it from damage. A well-applied finish can make your countertop last longer and look better.
Types Of Finishes
Different types of finishes can be used on wooden countertops. Each type offers unique benefits and results. Let’s explore some common options:
Oil Finishes: These penetrate the wood and give it a rich, natural look. They are easy to apply and maintain but may need reapplication over time.
Polyurethane: This finish forms a hard, protective layer on the wood. It is highly durable and resistant to water and stains. It can be glossy or matte, depending on your preference.
Water-based Finishes: These are eco-friendly and dry quickly. They provide a clear finish that preserves the wood’s natural color. They are less durable than oil or polyurethane finishes but easier to clean.
Application Process
Applying the finish correctly ensures the best results. Here are the steps you need to follow:
Preparation: Start by sanding the countertop surface. Use fine-grit sandpaper for a smooth finish. Clean the surface to remove any dust or debris.
First Coat: Apply the first coat of your chosen finish with a brush or cloth. Follow the wood grain for an even application. Let it dry completely, as per the product instructions.
Sanding Between Coats: Lightly sand the surface with fine-grit sandpaper after each coat. This helps the next layer adhere better and smooth out any imperfections.
Additional Coats: Apply at least two more coats, repeating the sanding process between each. This builds up a strong, durable finish. Ensure each coat is fully dry before applying the next.
Final Touch: After the last coat, allow the countertop to cure for several days. This hardens the finish and ensures it lasts longer. Once cured, your make a countertop from wooden is ready for use.
Installing The Countertop
Installing a wooden countertop can be a rewarding DIY project. Proper installation ensures durability and adds beauty to your kitchen. Follow these steps to install your wooden countertop correctly.
Securing The Countertop
First, place the countertop on the cabinets. Ensure it fits perfectly without gaps. Use a level to check the surface. If uneven, make necessary adjustments.
Next, secure the countertop to the cabinets. Use screws and brackets for stability. Drill pilot holes to avoid splitting the wood. Attach the countertop from underneath, using screws through the brackets into the wood.
Place screws every 12 inches for a secure fit. Ensure the screws are tight but not over tightened. This prevents damage to the wood.
Final Adjustments
Once the countertop is secured, check for any overhangs. Trim any excess wood using a saw. Sand the edges smooth to prevent splinters.
Apply wood filler to any gaps or holes. Let it dry, then sand the surface for a smooth finish. Clean the countertop thoroughly to remove dust and debris.
Finish by applying a sealant or oil to protect the wood. This enhances its durability and appearance. Allow the sealant to dry completely before using the countertop.
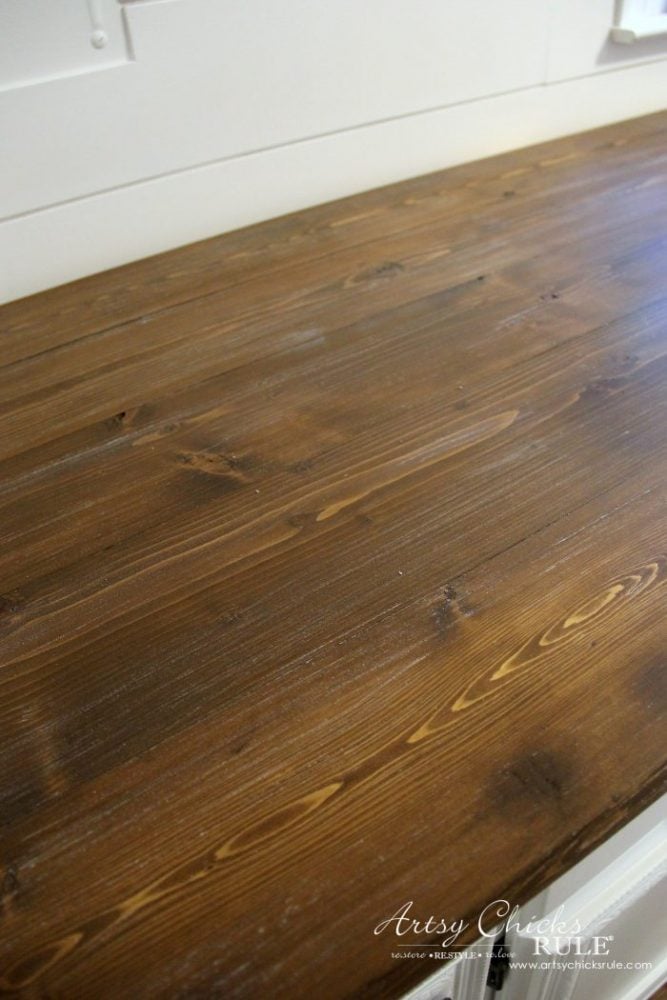
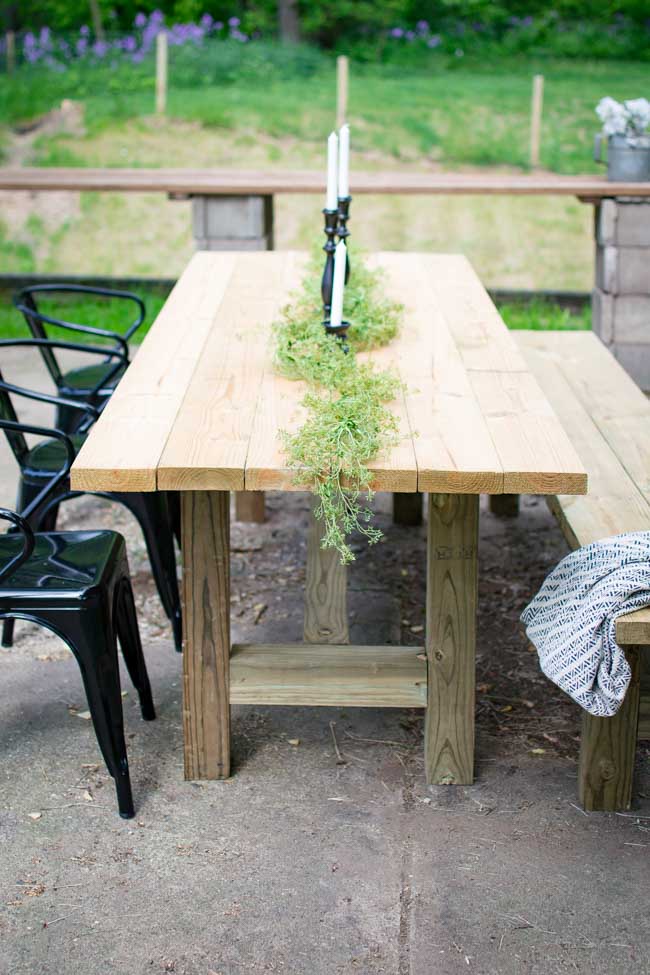
Credit: www.artsychicksrule.com
Frequently Asked Questions
What Type Of Wood Is Best For Countertops?
Hardwoods like maple, oak, and walnut are ideal. They are durable, dense, and visually appealing.
How Do I Seal A Wooden Countertop?
Use a food-safe sealant like mineral oil or a polyurethane finish. Apply multiple coats for protection.
How Do I Maintain A Wooden Countertop?
Regularly clean with mild soap and water. Reapply sealant as needed. Avoid direct heat and excessive moisture.
Can I Cut Directly On A Wood Countertop?
It’s not recommended. Use a cutting board to prevent scratches and maintain the countertop’s finish.
Conclusion
Crafting a wood countertop can be fun and rewarding. It adds warmth to your kitchen. Follow the steps carefully. Measure, cut, and sand the wood precisely. Seal the surface to protect it. Enjoy your beautiful, handmade countertop. With patience and effort, you can create a stunning piece.
Always prioritize safety and take your time. Your wooden countertop will be a unique addition to your home. Happy woodworking!