10 Easy DIY Projects for Beginners to Try This Weekend: Fun & Simple Ideas
Looking for fun, simple DIY Projects for Beginners? You’re in the right place! This weekend is perfect for diving into creative, easy-to-do crafts. DIY projects are not only enjoyable but also great for learning new skills. Whether you’re a complete beginner or just want a quick, satisfying activity, these projects are ideal. You’ll find that a few materials and a bit of time can turn into something amazing.
Plus, DIY crafts can add a personal touch to your home or make wonderful gifts. Ready to get crafty? Let’s explore some fantastic, beginner-friendly projects that you can complete this weekend. Grab your tools and let’s get started!
Introduction To DIY Projects for Beginners
Are you looking for a fun and productive way to spend your weekend? DIY projects can be a great way to pass the time. They offer a sense of achievement and can improve your skills. You do not need to be an expert. These projects are perfect DIY Projects for Beginners. Dive into the world of DIY and see what you can create.
Benefits Of Diy
Engaging in DIY projects offers numerous benefits. It helps to reduce stress. The act of creating something can be very relaxing. You can also save money. Many DIY projects use materials you already have at home. This means you spend less on buying new items.
Another benefit is learning new skills. Each project teaches you something new. Over time, you become more skilled. DIY projects also provide a sense of accomplishment. Completing a project gives you a feeling of pride. You can see the results of your hard work.
Materials And Tools
Before you start any DIY project, gather all the necessary materials and tools. This ensures you have everything you need. Basic materials include glue, paint, and fabric. You might also need wood, nails, and screws. The materials depend on the project you choose.
Tools are also important. Common tools include scissors, hammers, and screwdrivers. You may also need a drill or a saw. Having the right tools makes the job easier. Always make sure your tools are in good condition. This ensures safety and better results.
Decorative Mason Jars
If you want to start a simple DIY project this weekend, decorative mason jars are a fantastic choice. These jars are versatile, easy to make, and can add a charming touch to your home. Whether you use them as vases, candle holders, or storage containers, they are sure to impress.
Materials Needed
- Mason jars (any size)
- Acrylic paint (various colors)
- Paintbrushes
- Twine or ribbon
- Glue gun and glue sticks
- Stickers or stencils
- Glitter (optional)
- Sealer spray (optional)
Step-by-step Guide
- Start by cleaning the mason jars thoroughly. Make sure they are completely dry before you begin.
- Apply a base coat of acrylic paint to the jars. You can use a single color or create patterns.
- Allow the paint to dry completely. This may take a few hours.
- Use stickers or stencils to add designs to the jars. Apply another layer of paint if needed.
- For a sparkling effect, sprinkle glitter on the wet paint.
- Once the paint is dry, you can seal the jars with a sealer spray for added durability.
- Wrap twine or ribbon around the neck of the jar. Secure it with a glue gun.
- Add any additional decorations, like small charms or beads.
- Place a candle, flowers, or other items inside your jar.
- Display your beautiful decorative mason jars around your home or give them as gifts.
Simple Wall Art
Creating simple wall art is a fantastic way to personalize your space. It’s a great DIY projects for beginners, offering an easy and creative outlet. You don’t need to be an artist to make something beautiful. With a few materials and some inspiration, you can transform any wall in your home. Let’s explore how to get started with simple wall art.
Materials Needed
- Canvas or sturdy paper
- Acrylic paints or watercolors
- Paintbrushes in various sizes
- Painters tape or masking tape
- Pencil and eraser
- Palette or old plate for mixing colors
- Water cup for rinsing brushes
- Paper towels or old rag
Design Ideas
Start with simple geometric shapes. Use tape to create clean lines and patterns. Paint over the tape, then remove it for a crisp design. Try abstract art. Mix colors and let your brush flow freely. Don’t stress about perfection. The beauty of abstract art lies in its spontaneity.
Experiment with nature themes. Paint flowers, leaves, or simple landscapes. These designs bring a touch of the outdoors into your home. Use stencils for detailed designs. You can buy stencils or make your own. This method ensures your art looks polished and professional. Combine different techniques. Mix geometric shapes with abstract elements. Blend nature themes with stencils. Creativity has no limits.
Simple wall art is a fun and easy project. It adds a personal touch to any room. Gather your materials and let your imagination guide you.
Personalized Coasters
Creating personalized coasters is a fun and simple DIY project perfect for beginners. You can add a personal touch to your living space or make thoughtful gifts. Follow the steps below to make your own unique coasters.
Materials Needed
- Cork or ceramic tiles
- Acrylic paint
- Paintbrushes
- Mod Podge or clear spray sealant
- Stencils
- Painter’s tape
- Felt pads
- Scissors
Customizing Techniques
There are many ways to customize your coasters. Here are a few techniques to get you started:
| Technique | Description |
|---|---|
| Painting | Use acrylic paint to create designs. Apply painter’s tape for clean lines. |
| Stencil Art | Place stencils on the coaster. Paint over them to create patterns. |
| Decoupage | Cut out images or paper designs. Attach them with Mod Podge. |
Once you’ve finished your designs, seal the coasters with Mod Podge or clear spray. This protects them from moisture and wear. Attach felt pads to the bottom to prevent scratches on furniture.
These personalized coasters are not only functional but also add a creative flair to your home decor.
Diy Planters
Looking for a fun and easy DIY projects for beginners to spruce up your space? DIY planters are perfect for adding a touch of greenery to your home. They’re simple, creative, and a great way to start your DIY journey. Let’s dive into what you need and some planting tips to get your planters looking lush and vibrant.
Materials Needed
- Old containers (tin cans, mason jars, wooden boxes)
- Potting soil
- Small plants or succulents
- Paint and paintbrushes
- Drill for drainage holes
- Decorative stones or pebbles
Planting Tips
- Choose the right container: Ensure your container has drainage holes. Use a drill if necessary.
- Pick the right soil: Use potting soil for better drainage and root health.
- Select your plants: Choose small plants or succulents that thrive indoors.
- Decorate your planters: Paint and decorate your containers to match your home decor.
- Layering: Start with a layer of stones at the bottom. Add soil on top.
- Planting: Place your plants in the soil. Ensure the roots are covered.
- Watering: Water your plants sparingly. Overwatering can harm them.
With these materials and tips, your DIY planters will be a hit. Get creative and enjoy the process of making your space green and lively!

Handmade Candles
Handmade candles can brighten up any room. They create a warm and cozy atmosphere. Making them at home is easy and fun. It is a great DIY projects for beginners. You will also save money and customize scents and colors.
Materials Needed
Before starting, gather these materials:
- Wax (soy, beeswax, or paraffin)
- Wicks
- Containers (glass jars or tins)
- Essential oils (for scent)
- Candle dye (for color)
- Double boiler or microwave-safe container
- Thermometer
- Stirring stick
- Hot glue gun
Candle-making Process
- Melt the Wax: Use a double boiler or microwave-safe container. Heat the wax until it melts completely. Stir occasionally.
- Prepare the Containers: Use hot glue to attach the wick to the container’s bottom. Ensure it is centered.
- Add Scent and Color: Remove the melted wax from heat. Add essential oils and candle dye. Stir well.
- Pour the Wax: Slowly pour the wax into the prepared containers. Leave some space at the top.
- Set the Wick: Use a stick to keep the wick centered. Let the wax cool and harden.
- Trim the Wick: Once the candle is solid, trim the wick to about 1/4 inch.
Your handmade candles are now ready. They make perfect gifts or home decor. Enjoy the process and create your unique scents and colors.
Customized Picture Frames
Creating customized picture frames is a fun and easy DIY projects for beginners. You can add a personal touch to your home decor with simple materials. This project is perfect for a weekend activity and makes for a thoughtful gift.
Materials Needed
- Plain picture frames
- Acrylic paint and brushes
- Decorative paper or fabric
- Glue or Mod Podge
- Scissors
- Embellishments like beads, buttons, or stickers
- Sandpaper (optional)
Decoration Ideas
There are many ways to decorate your customized picture frames. Here are some ideas to get you started:
- Painting: Use acrylic paint to add color and designs. Try stripes, polka dots, or even a solid color for a clean look.
- Decoupage: Cut out shapes from decorative paper or fabric and glue them onto the frame. Seal with Mod Podge for a smooth finish.
- Embellishments: Glue beads, buttons, or stickers around the frame. This adds texture and interest.
- Distressing: Lightly sand the edges of a painted frame for a rustic look. This works well with vintage or farmhouse decor.
- Personalization: Use letter stickers or stencils to add names or quotes. This makes the frame unique to you.
With these simple steps, you can create beautiful customized picture frames that reflect your style. Enjoy your weekend project!
Creative Storage Solutions
Looking for ways to declutter your home? Here are some creative storage solutions you can try this weekend. These easy DIY projects for beginners will help you organize your space. They are perfect for beginners and can be completed in a few hours. Let’s get started with some simple and efficient storage ideas.
Materials Needed
Before you begin, gather the materials you’ll need. Here’s a list to help you:
- Wooden crates
- Screws and nails
- Paint and brushes
- Shelf brackets
- Fabric bins
- Labels and markers
- Measuring tape
- Drill and screwdriver
These items are easy to find at any hardware store. Now, let’s move on to some organizing tips.
Organizing Tips
To make the most of your new storage solutions, follow these organizing tips:
- Start by decluttering your space. Get rid of items you don’t need.
- Group similar items together. This makes them easier to find later.
- Use labels to keep track of what’s in each container.
- Place frequently used items within easy reach. Store less-used items higher up.
- Consider the aesthetics of your storage. Painted crates or fabric bins can add a decorative touch.
With these tips, you’ll have a more organized and tidy space in no time. Happy DIY-ing!
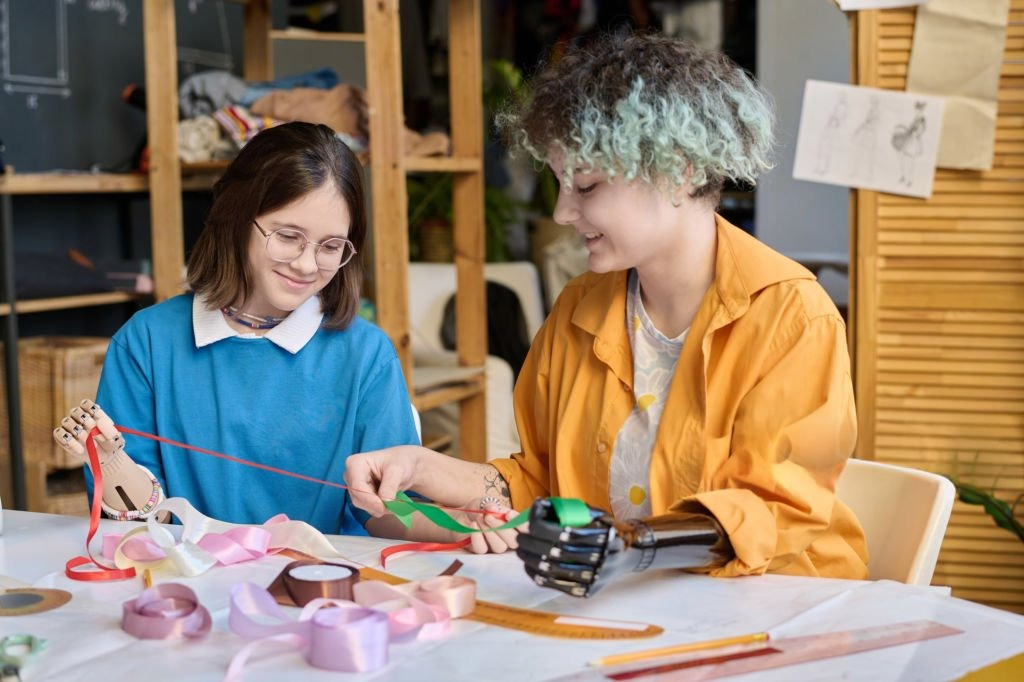
Diy Jewelry
Jump into the world of DIY jewelry this weekend! Crafting your own jewelry is not only a fun activity, but it also allows you to create personalized pieces that reflect your style. Whether you’re looking to make earrings, necklaces, or bracelets, these simple projects are perfect for beginners. Let’s get started!
Materials Needed
Before you begin, gather these basic materials. Most of them are easy to find and inexpensive:
- Beads (glass, plastic, or metal)
- Jewelry wire
- Wire cutters
- Needle-nose pliers
- Jump rings
- Clasps (lobster clasps or toggle clasps)
- Earring hooks
- Charm pendants
Design Inspirations
Need some ideas to get started? Here are a few simple designs:
| Jewelry Type | Design Idea |
|---|---|
| Earrings | String a few colorful beads on a wire. Attach the wire to an earring hook. |
| Necklace | Use a charm pendant as the centerpiece. Add beads on either side. |
| Bracelet | Create a beaded bracelet with alternating colors. Add a clasp to finish. |
Experiment with different bead shapes, colors, and sizes. Mix and match materials to see what you like best. With a bit of creativity, you can make unique pieces that you’ll love to wear or give as gifts.
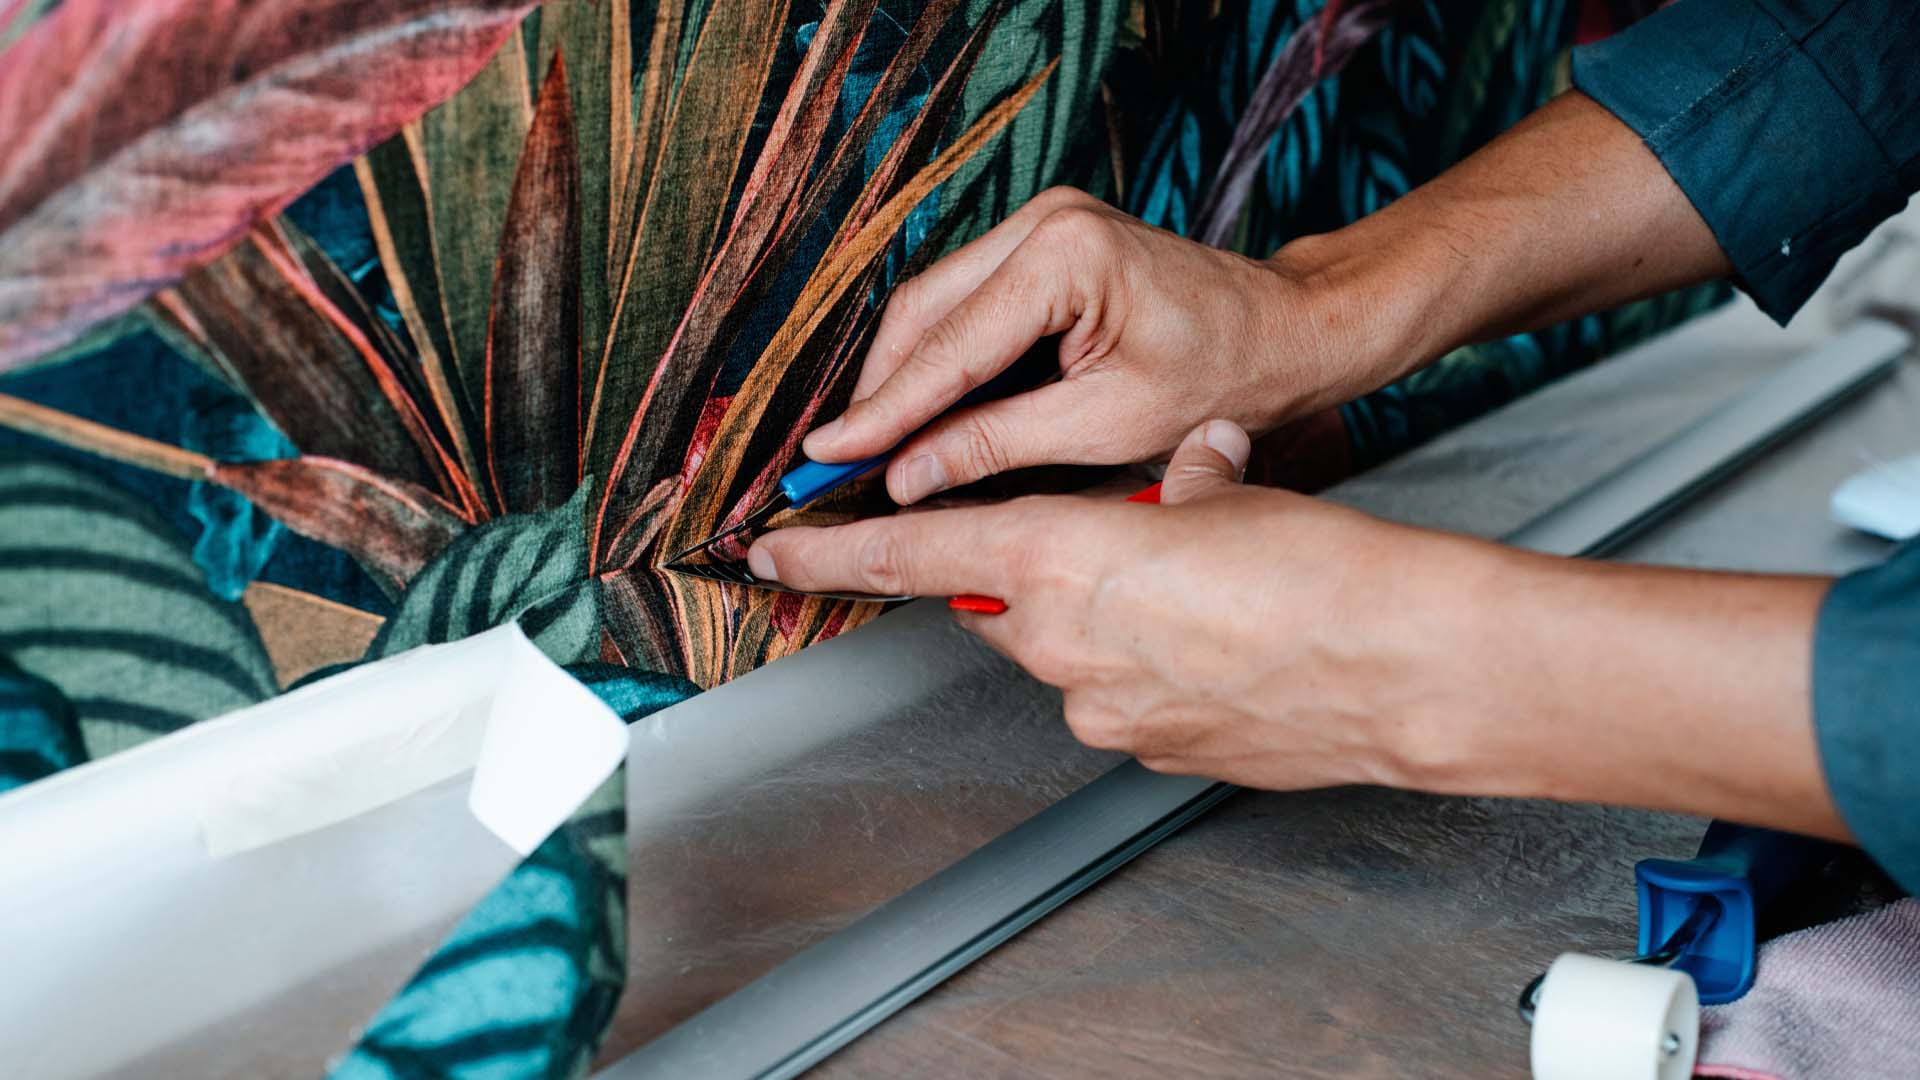
Upcycled Home Decor
Looking to spruce up your home without spending a fortune? Upcycled home decor is a fun and eco-friendly way to refresh your space. Transform old items into beautiful decor pieces. Beginners can easily take on these projects. They require minimal tools and creativity. Let’s dive into some easy upcycled home decor projects.
Materials Needed
- Old picture frames
- Glass jars
- Wooden crates
- Paint and brushes
- Sandpaper
- Glue gun
- Decorative paper
- Fabric scraps
Transformation Techniques
Start with old picture frames. Paint them in vibrant colors. Use sandpaper to give a distressed look. Replace the glass with decorative paper or fabric. This creates unique wall art. Next, take glass jars. Paint them or wrap with fabric scraps. They become charming vases or storage containers. Use a glue gun to add embellishments like ribbons or buttons.
Wooden crates can be turned into stylish shelves. Sand them down, paint, and stack them. Secure with screws for stability. They can hold books, plants, or trinkets.
Each project gives old items a new purpose. Plus, it’s a great way to reduce waste. Enjoy your new decor and the satisfaction of DIY.
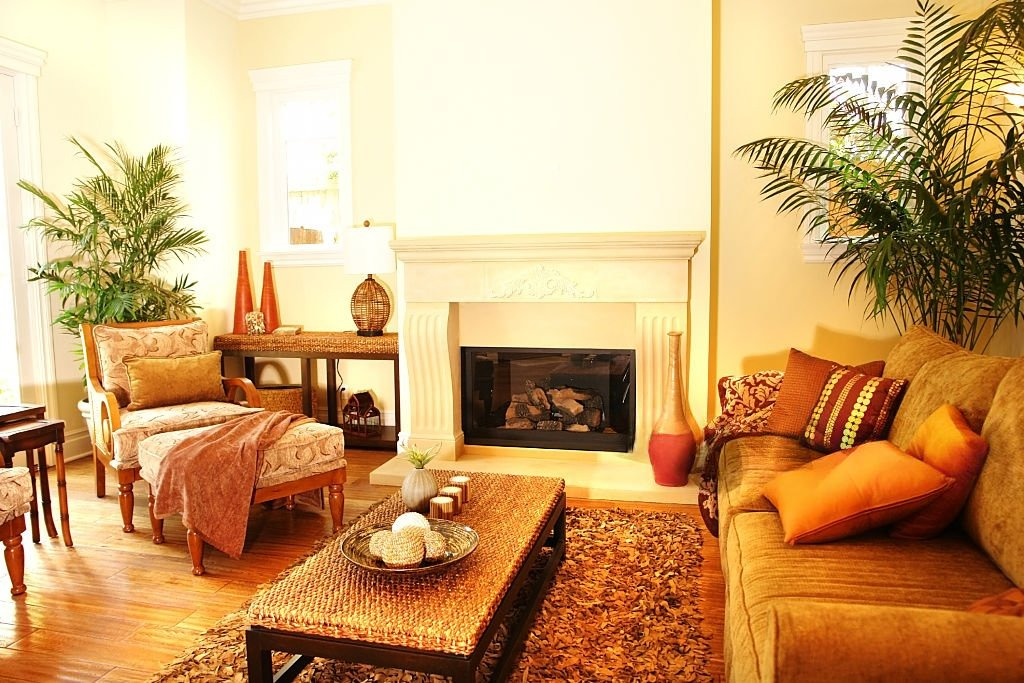
Credit: www.saga.co.uk
Frequently Asked Questions
What Are Some Easy Diy Projects For Beginners?
Easy DIY projects for beginners include painting a piece of furniture, creating wall art, or building a simple shelf. These projects require minimal tools and skills, making them perfect for weekend activities.
How Do I Start A Diy Project?
To start a DIY project, choose a simple DIY projects for beginners, gather materials, and follow step-by-step instructions. Ensure you have all necessary tools and take safety precautions. This will help you complete your project successfully.
What Materials Do I Need For Diy Crafts?
Common materials for DIY crafts include wood, paint, glue, fabric, and basic tools like a hammer and nails. Having a variety of materials on hand can make it easier to start and complete your projects.
Can Diy Projects Save Money?
Yes, DIY projects can save money by using inexpensive materials and avoiding labor costs. Completing projects yourself allows you to customize and personalize items, making them unique and potentially more cost-effective.
Conclusion
Trying out these DIY projects for beginners can be fun and rewarding. You can create beautiful items and learn new skills. These projects are perfect for beginners. They are simple and do not require many tools. Spend your weekend making something special.
Enjoy the process and take pride in your creations. Happy crafting!