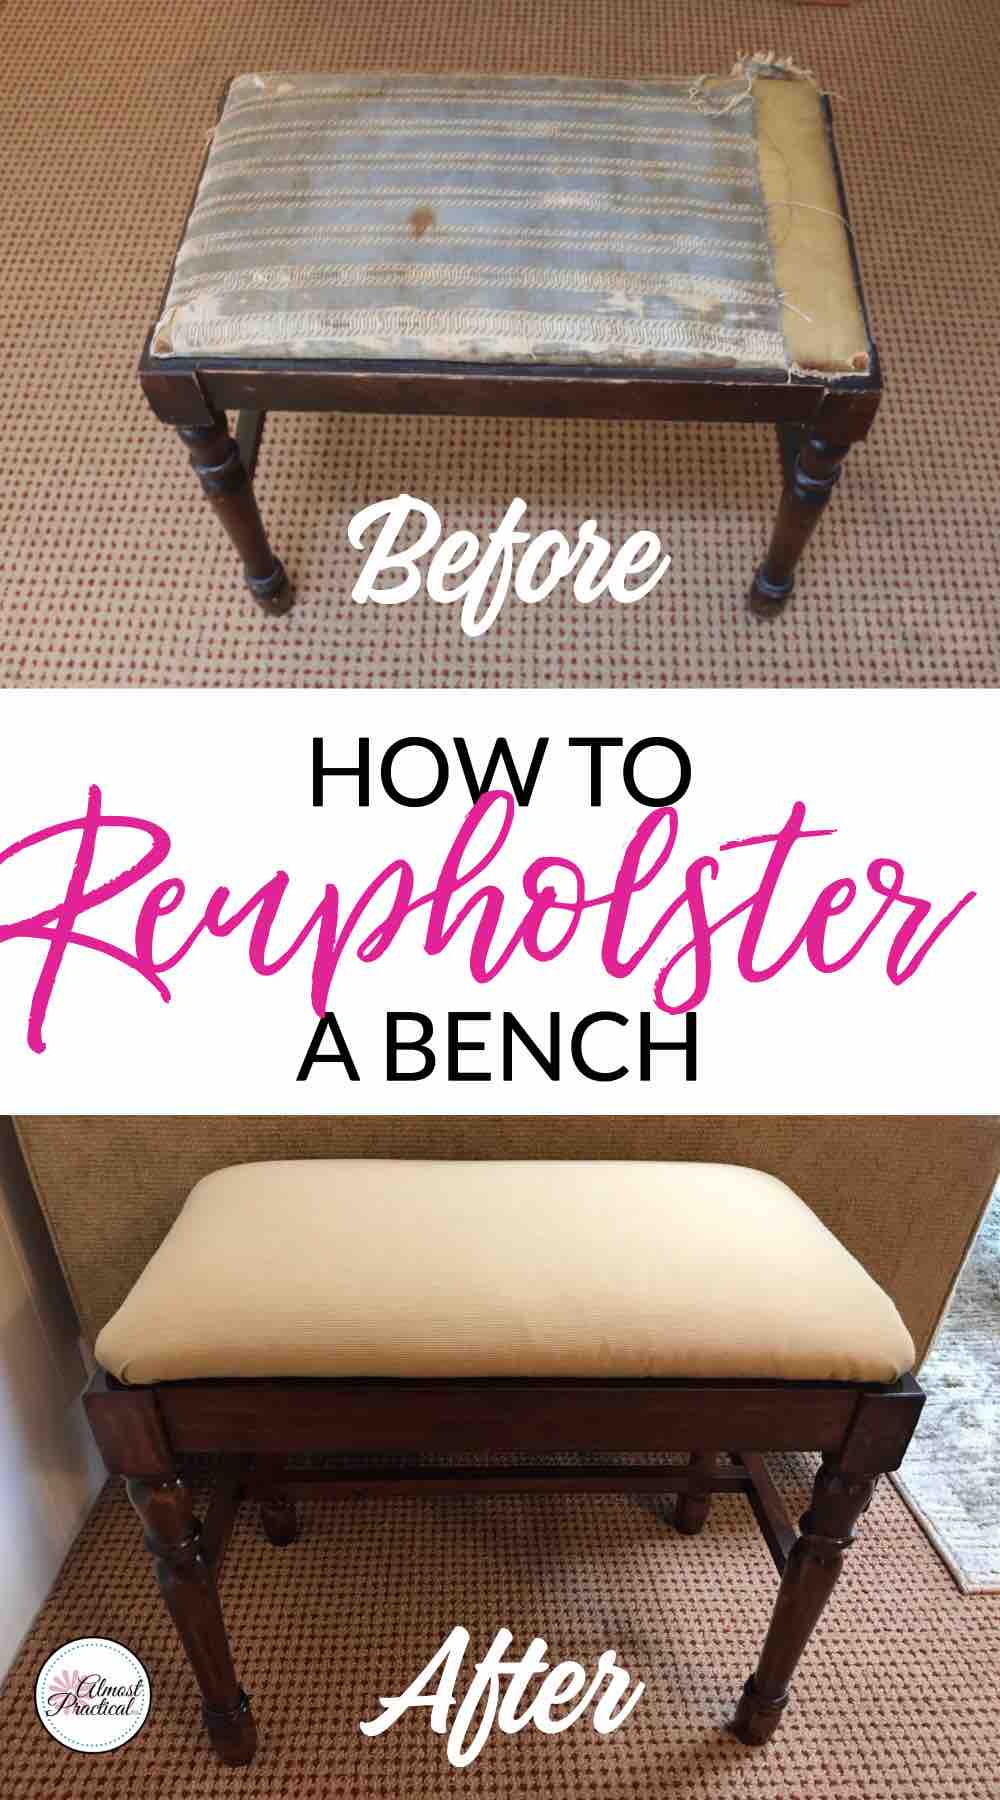
How to Reupholster Bench: Step-by-Step Guide for Beginners
How to Reupholster Bench: Step-by-Step Guide for Beginners can seem daunting at first. But with the right guidance, it’s simple.
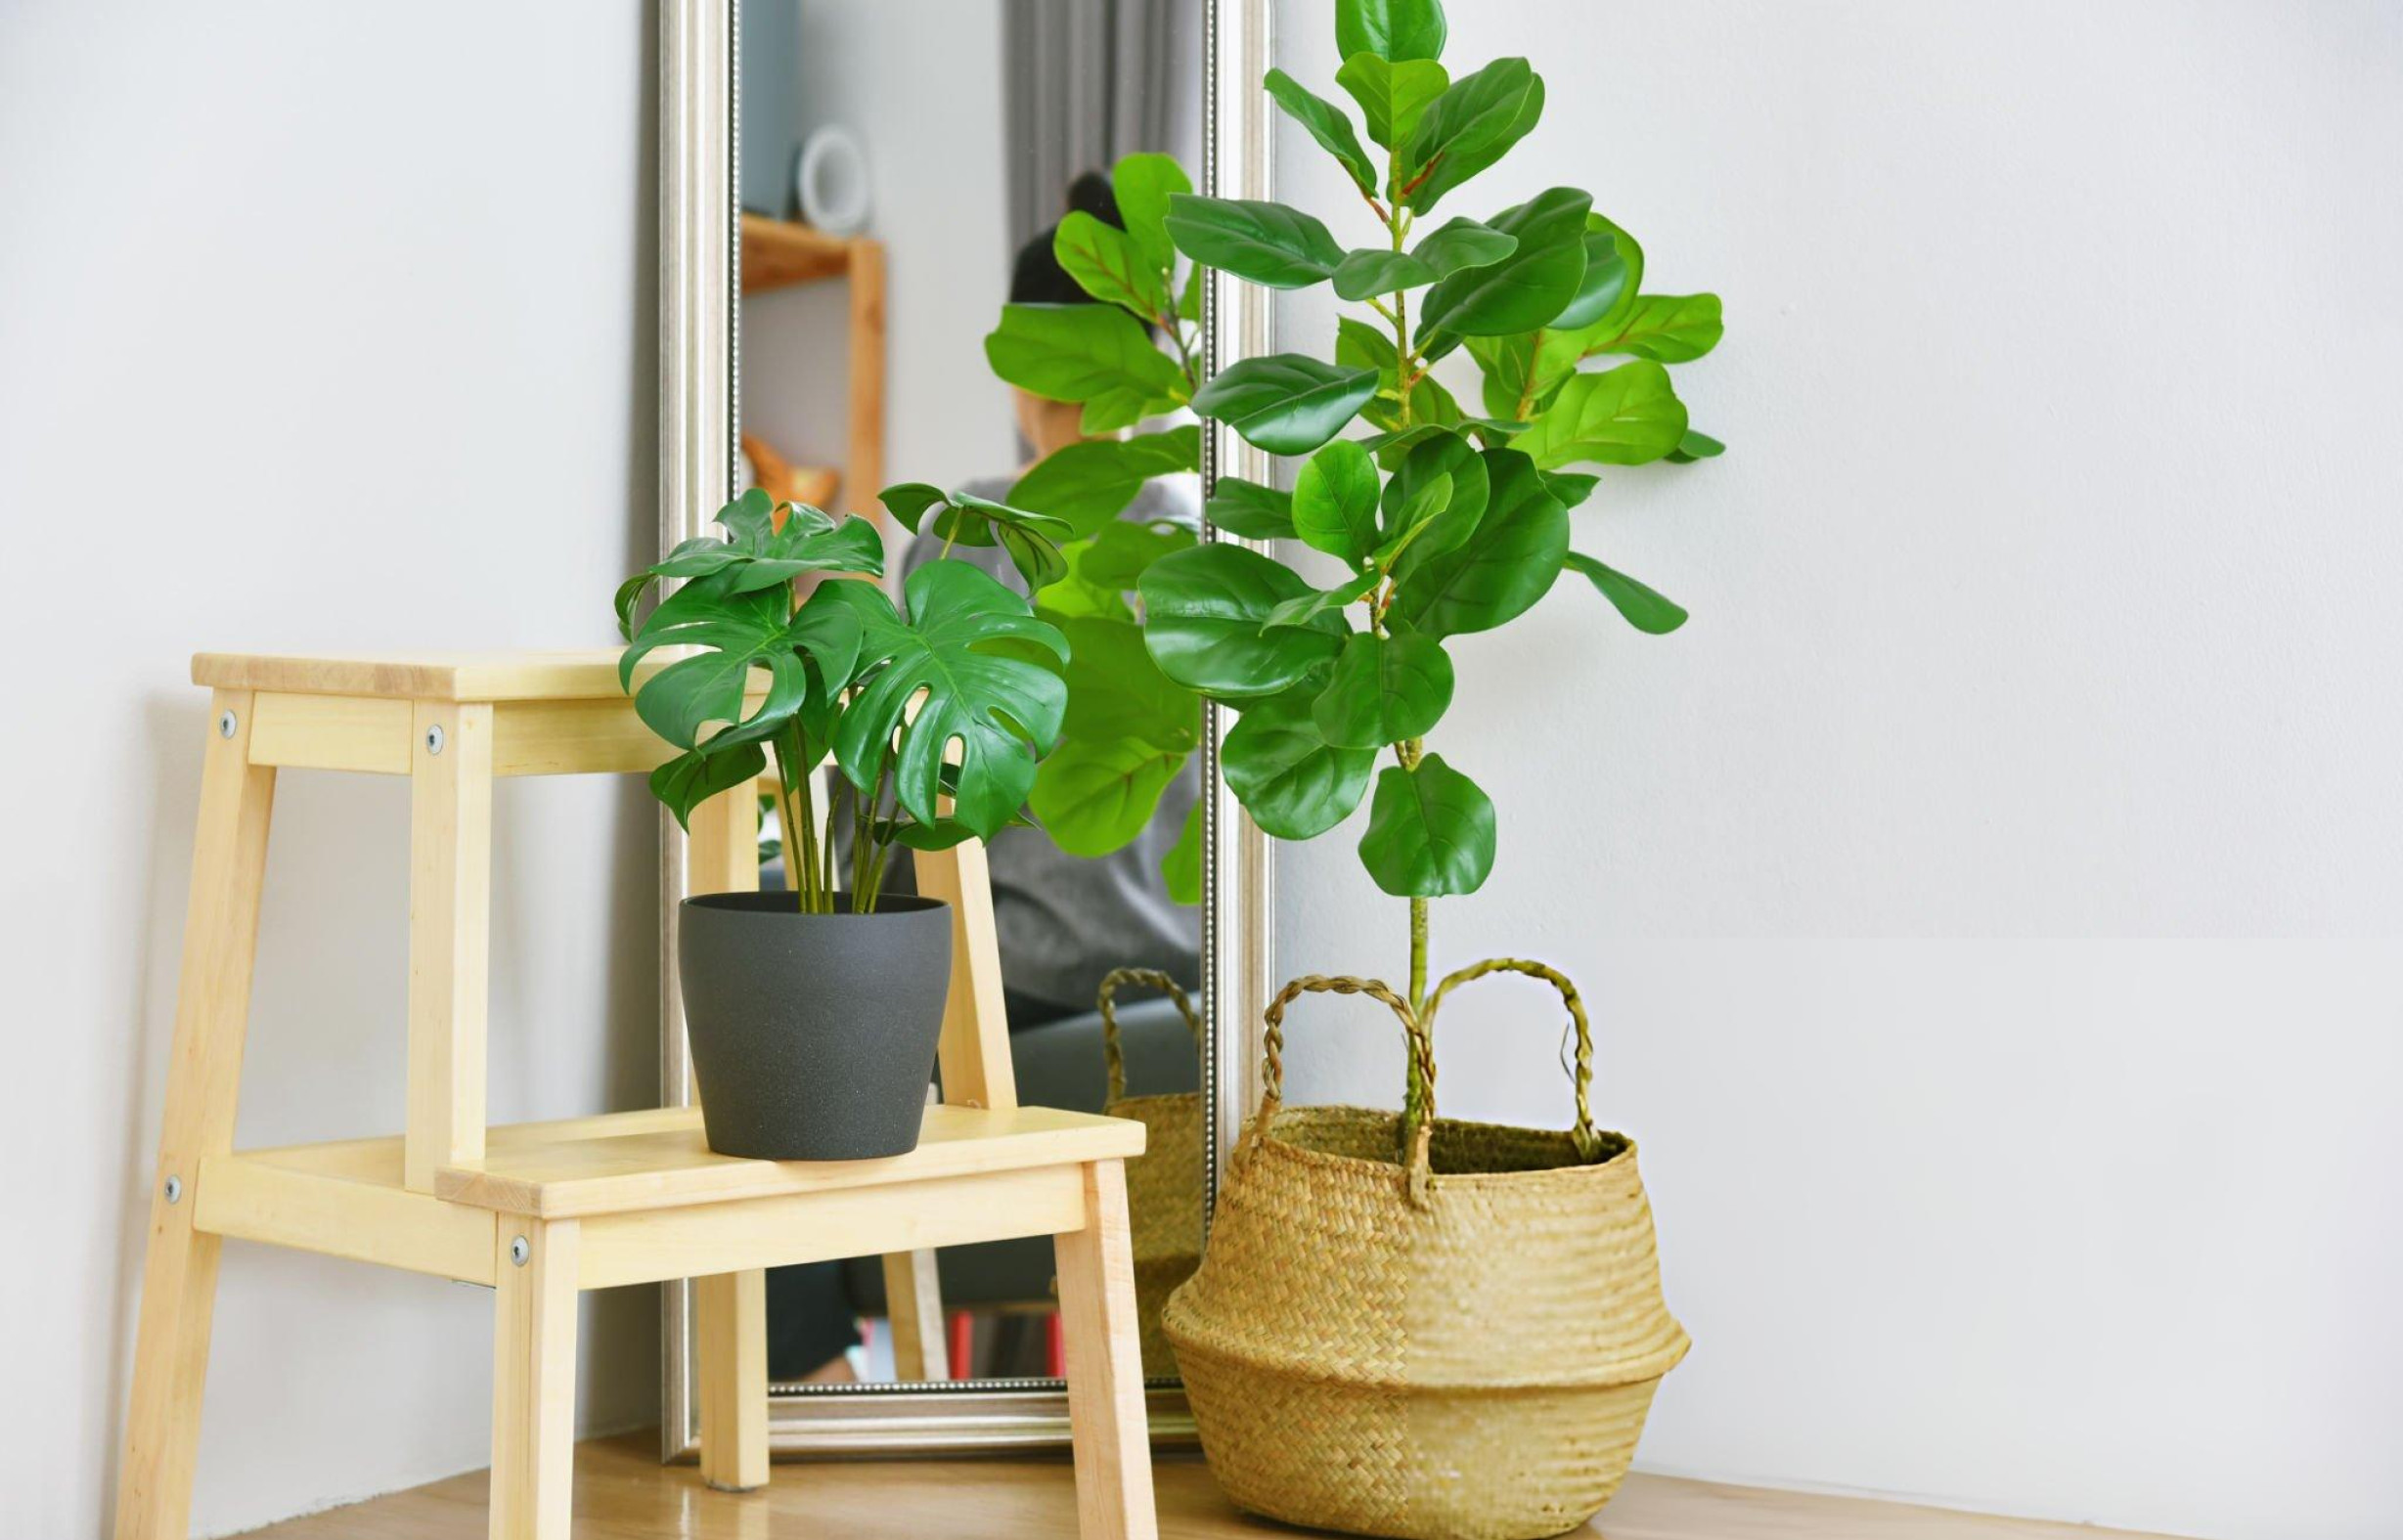
Reupholstering your bench can give it a fresh new look. Whether it’s an old family heirloom or a thrift store find, a little fabric and some tools can make a big difference. Plus, it’s a fun Diy project that can save you money.
In this guide, we’ll walk you through each step. From removing the old fabric to attaching the new one, you’ll learn the basics. Soon, your bench will look as good as new. Ready to dive in? Let’s get started!
Introduction To Reupholstering
Learn how to reupholster a bench with simple steps. Remove the old fabric, add padding, and attach new material. This guide makes the process easy and fun.
Reupholstering a bench can breathe new life into an old piece of furniture. It allows you to customize your bench with fresh fabric that matches your style. This process is simple and rewarding. Anyone can do it with the right tools and materials.
Reupholstering can save money. It’s often cheaper than buying a new bench. Plus, it reduces waste by giving your bench a new lease on life.
Benefits Of Reupholstering
Reupholstering your bench has several benefits. First, it lets you update the look of your furniture. You can choose any fabric that suits your decor. This makes your bench unique and personalized.
Second, it can improve comfort. Over time, the padding in your bench may wear down. Reupholstering lets you replace old padding with new, making your bench more comfortable.
Third, it can extend the life of your furniture. A well-made bench can last many years with new fabric and padding. This means you won’t need to replace it as often.
Tools And Materials Needed
Before you start, gather all the tools and materials you will need. These include fabric, padding, a staple gun, and staples. You will also need a screwdriver, pliers, scissors, and a tape measure.
Choose fabric that is durable and easy to clean. Measure your bench to know how much fabric and padding to buy.
Make sure your staple gun is in good working order. It will help you attach the fabric securely. Pliers can help remove old staples. Scissors will be used to cut the fabric and padding.
Having all tools and materials ready will make the process smoother. It will help you complete the project faster and with less frustration.
“`
Choosing Fabric
Choosing the right fabric for your bench can transform its look. It can also make it more comfortable and durable. The fabric you select plays a key role in the final outcome. Read on to learn about types of fabric and how to measure fabric for reupholstering your bench.
Types Of Fabric
There are many fabric types suitable for reupholstering a bench. Cotton is a popular choice because it is soft and durable. Linen offers a natural look and is breathable. Polyester is easy to clean and resists stains. Velvet adds a touch of luxury and is soft to the touch. Leather is strong and ages well, giving a classic appearance. Choose the fabric that matches your style and needs.
Measuring Fabric
Measuring fabric correctly is crucial for a successful reupholstery project. Start by measuring the length and width of the bench seat. Add a few extra inches to each side. This extra fabric helps with tucking and stapling. If your bench has a backrest, measure it as well. Note these dimensions and take them with you when buying fabric. This ensures you get enough material for the job.
Preparing The Bench
Preparing the bench is the first step in the reupholstering process. This involves removing the old fabric and cleaning the bench. These steps ensure a smooth and professional finish. Let’s dive into the details.
Removing Old Fabric
Start by flipping the bench upside down. Use a screwdriver to remove any screws or staples holding the fabric. Carefully pull the old fabric off. Save the old fabric pieces to use as templates for cutting new fabric. Take your time with this step to avoid damaging the bench.
Cleaning The Bench
Once the fabric is off, inspect the bench for any damage. Fix any loose or broken parts. Use a vacuum to remove dust and debris. Wipe down the bench with a damp cloth to remove any dirt. Allow the bench to dry completely before proceeding.

Credit: m.youtube.com
Cutting The New Fabric
Cutting the new fabric is an important step in reupholstering your bench. Proper cutting ensures a neat and professional finish. Let’s break down the process into manageable steps.
Measuring And Marking
First, measure the old fabric pieces from your bench. Use a measuring tape for accuracy. Note the dimensions. Add an extra inch to each measurement. This allows for seam allowances and adjustments.
Next, lay out the new fabric on a flat surface. Use a fabric marker or chalk to outline the measurements. Ensure the markings are clear and visible. Double-check your measurements before cutting. Accuracy is key.
Cutting Techniques
Use sharp fabric scissors for clean cuts. Dull scissors can cause jagged edges. Start by cutting along the marked lines. Keep your hand steady. Follow the outline precisely.
If you have complex patterns, consider using a rotary cutter. This tool can help with intricate shapes. Place a cutting mat under the fabric to protect your surface. Make sure all pieces are cut accurately. This will ensure a perfect fit when reupholstering.
Once all the pieces are cut, lay them out again. Compare them to the old fabric pieces. Make any necessary adjustments. Your new fabric is now ready for the next step in reupholstering.
Attaching The Fabric
Once you have chosen your fabric, it’s time to attach it to the bench. This step is crucial for a neat and professional look. Make sure you have your tools ready: a staple gun, scissors, and the fabric. Follow these steps to ensure the fabric is securely attached and looks great.
Stapling The Fabric
Start by laying the fabric flat on a clean surface. Place the bench seat upside down on the fabric. Make sure there’s enough fabric to cover the bench and some extra for stapling. Pull the fabric tight and start stapling in the center of one side. Work your way out towards the corners.
Use these tips for stapling:
- Staple every 2-3 inches for a secure hold.
- Keep the fabric taut to avoid wrinkles.
- Check the alignment as you staple.
Tucking And Folding
After stapling the main areas, focus on the corners. Tuck the fabric neatly and fold it for a smooth finish. Corners can be tricky, but with practice, you can make them look professional. Start by folding one side over, then tuck the other side to create a clean edge.
Follow these steps for perfect corners:
- Pull the fabric tight towards the corner.
- Fold one side over the corner.
- Tuck the other side under and staple.
Trim any excess fabric after stapling. This ensures a clean look and prevents fraying. Make sure all the staples are secure and the fabric is smooth.
Reupholstering a bench can seem challenging, but with careful stapling, tucking, and folding, you can achieve a polished result. Take your time and follow these steps for a beautifully reupholstered bench.
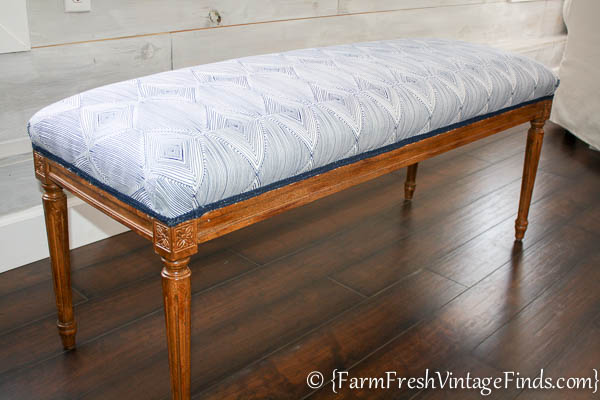
Credit: farmfreshvintagefinds.com
Affordable DIY Projects to Revamp Your Living Room: Budget-Friendly Ideas
Adding Finishing Touches
Now that you have reupholstered your bench, it’s time to add the finishing touches. These steps will make your bench look professional and polished. Pay attention to details, and your bench will be both beautiful and durable.
Trimming Excess Fabric
First, you need to trim any excess fabric. Use sharp scissors to cut the fabric close to the staples. Be careful not to cut too much. Leave a small margin to prevent fraying.
Here is a simple step-by-step guide:
- Inspect the edges of the bench.
- Identify where the fabric extends beyond the staples.
- Use sharp scissors to carefully trim the fabric.
- Ensure an even cut all around the bench.
This step ensures the fabric lies flat and looks neat.
Adding Decorative Elements
Adding decorative elements can enhance the look of your bench. Consider adding trim, buttons, or nailhead accents. These elements add charm and elegance.
Here are some ideas for decorative elements:
- Trim: Choose a trim that matches your fabric. Use fabric glue or a staple gun to attach it along the edges.
- Buttons: Cover buttons with matching fabric. Sew them onto the bench for a tufted look.
- Nailhead Accents: Use nailhead trim for a classic and sophisticated touch. Place them evenly along the edges.
Each of these elements can be added easily and will make a big difference in the overall look of your bench.
By carefully trimming excess fabric and adding decorative elements, you can achieve a professional finish. These final touches will make your reupholstered bench stand out. Enjoy your beautiful, newly reupholstered bench!
Reassembling The Bench
Reassembling the bench is a crucial step in the reupholstery process. This step requires patience and precision. You will secure the new fabric and reattach the bench parts. Follow these steps to ensure your bench is sturdy and looks great.
Securing The Upholstery
Begin by placing the new fabric over the bench frame. Make sure it is centered and smooth. Use a staple gun to attach the fabric to the frame. Start at the center of each side and work your way out. This will help keep the fabric tight and even.
Next, fold the corners neatly. Tuck the fabric in tightly and staple it. Check that the fabric is smooth and tight. Remove any wrinkles or folds before securing the final staples.
Reattaching Bench Parts
Once the fabric is secure, you can reattach the bench parts. This includes the legs, arms, and any other components. Use the original screws and bolts if possible. This will ensure a proper fit.
Start by attaching the legs. Align the holes in the legs with the holes in the frame. Insert the screws and tighten them securely. Repeat this process for each leg.
Next, reattach any other parts. This might include arms, backs, or decorative elements. Make sure each part is aligned correctly. Tighten all screws and bolts securely.
Finally, check the entire bench. Ensure all parts are securely attached. Make sure the bench is stable and the fabric is smooth. Your reupholstered bench is now ready for use!
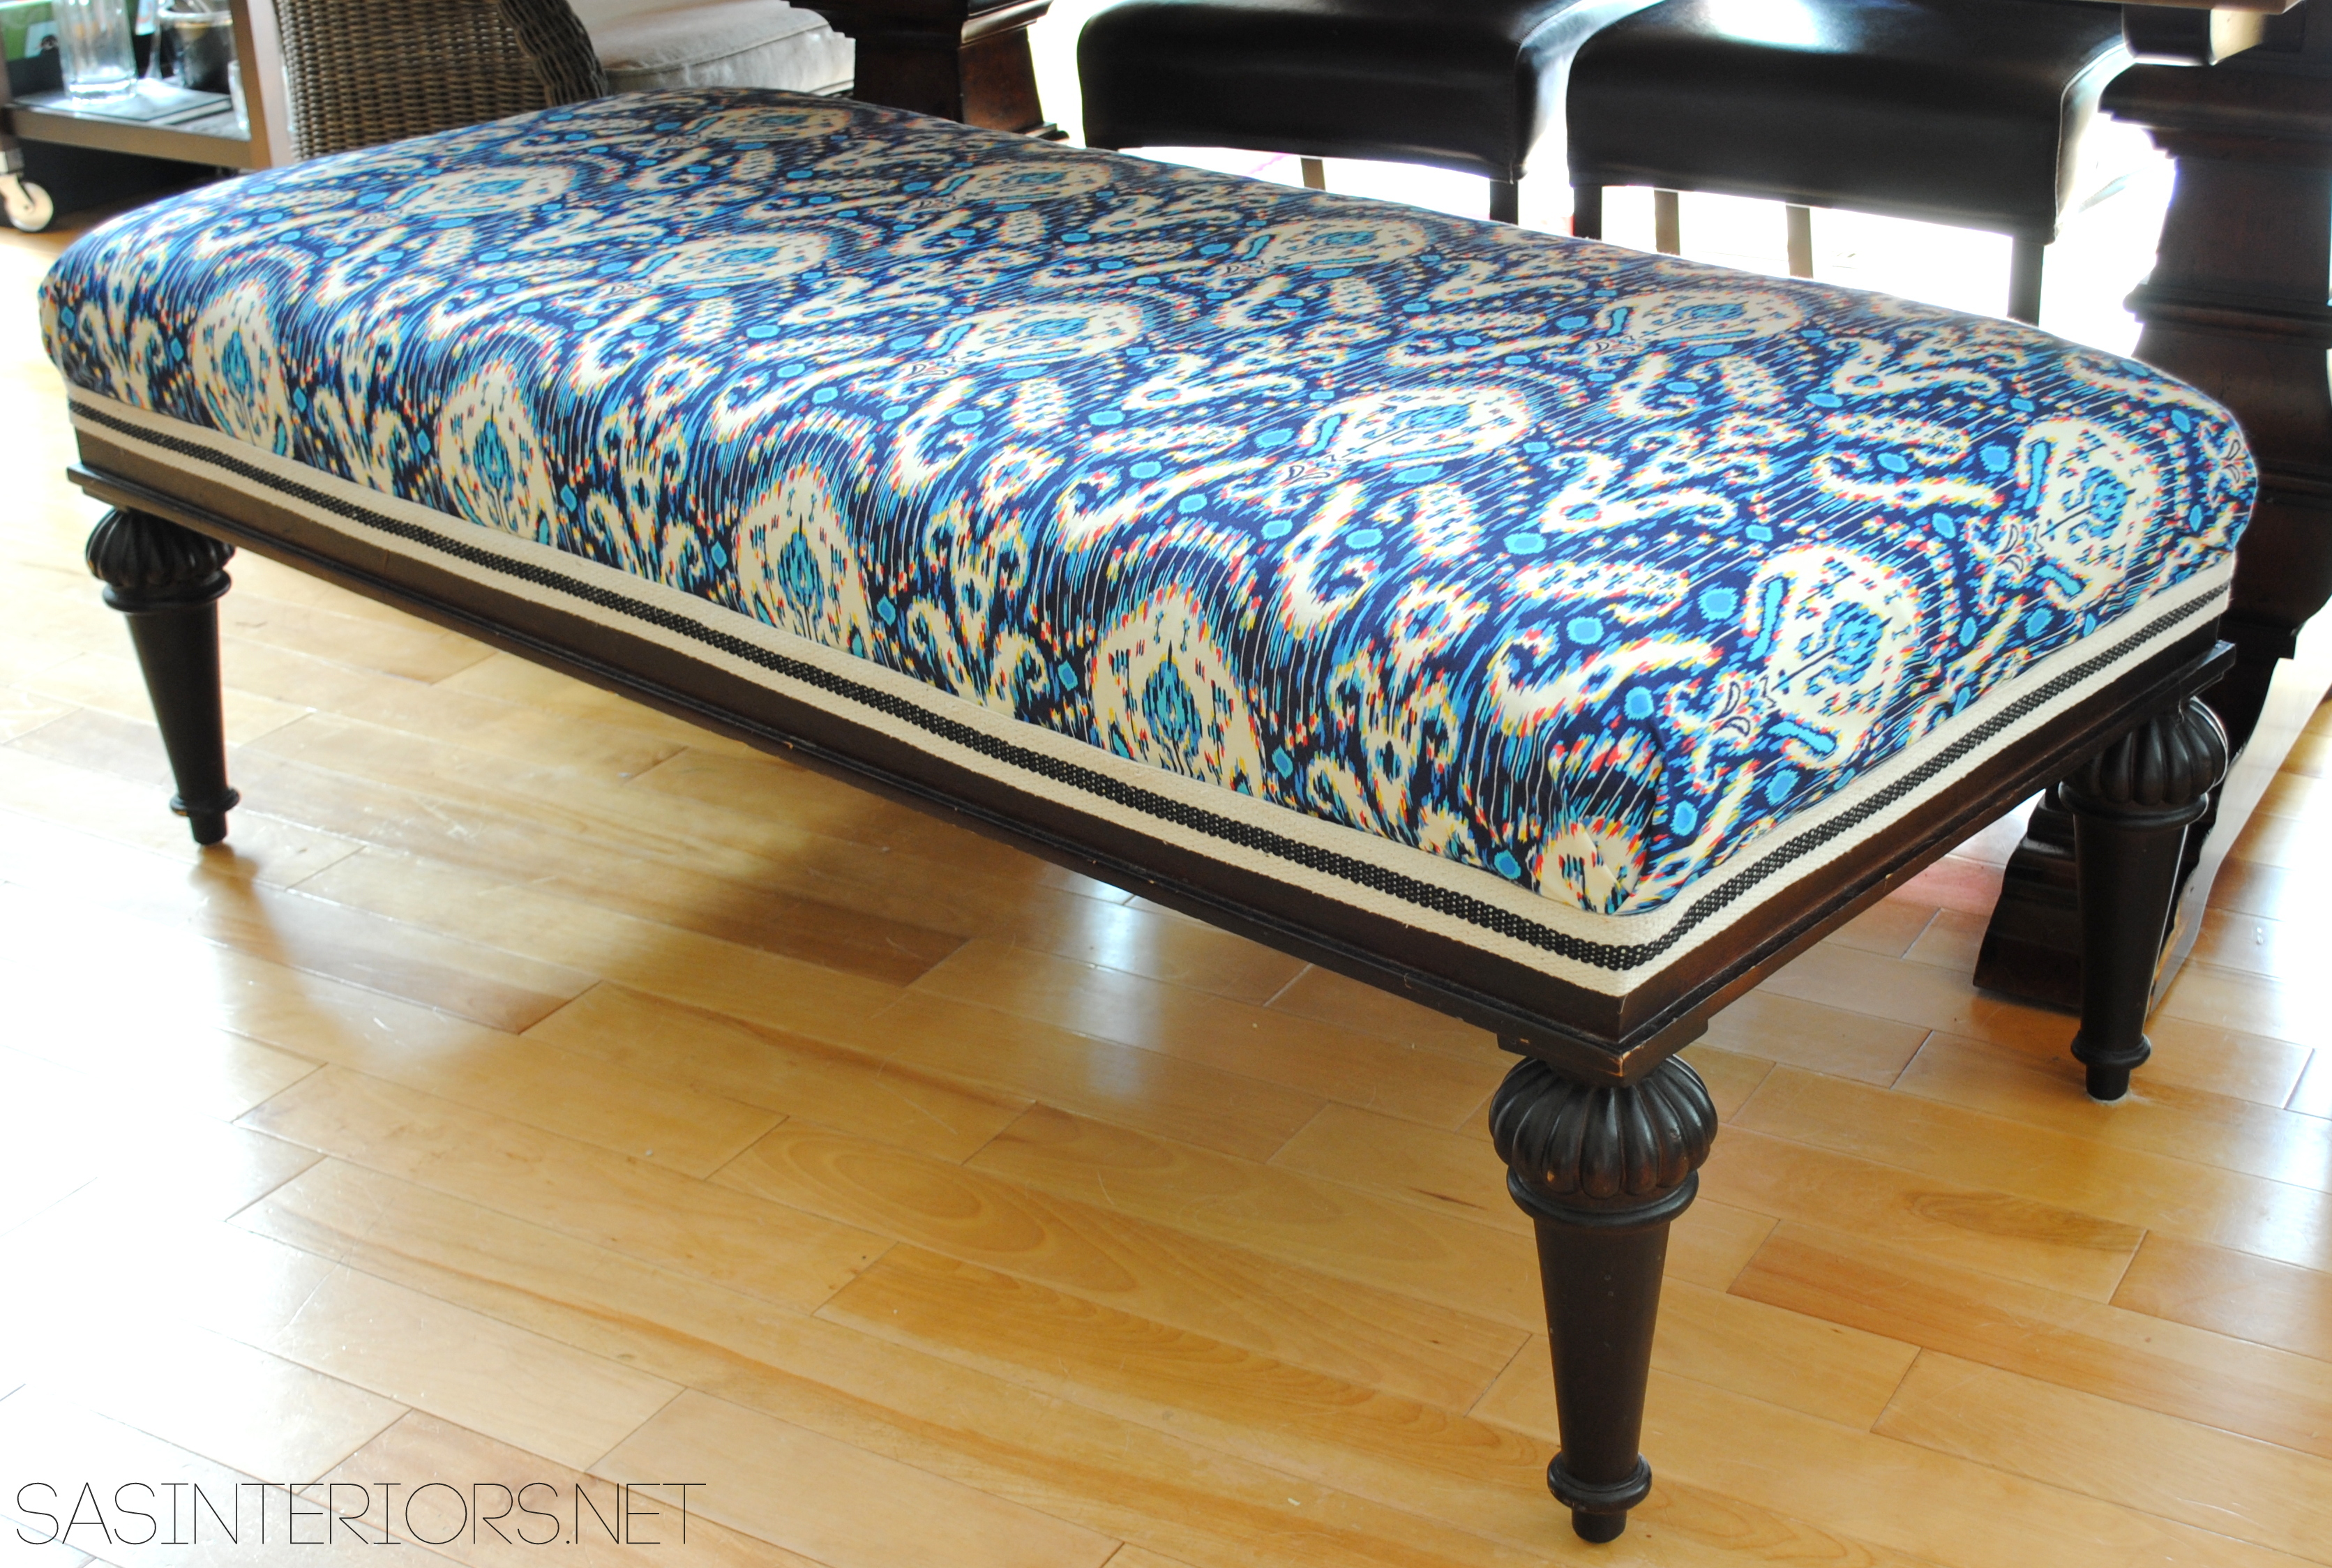
Credit: jennaburger.com
Maintenance Tips
Reupholstering a bench can give it a fresh look. But keeping it in good shape requires some effort. Regular maintenance ensures the fabric stays clean and the structure remains solid. Here are a few tips to help you maintain your newly reupholstered bench.
Cleaning The Fabric
Start by vacuuming the bench regularly. This removes dust and dirt. Use a soft brush attachment to avoid damaging the fabric. Spot clean any spills immediately with a damp cloth. Avoid using too much water. It can soak into the padding and cause damage.
For deeper cleaning, use a mild detergent. Mix it with water and apply gently with a soft brush. Always test a small, hidden area first. This ensures the cleaner does not discolor the fabric. Rinse with a damp cloth and allow it to air dry.
Repairing Minor Damages
Inspect your bench regularly for any signs of wear. Look for loose threads or small tears. Repair these minor damages immediately to prevent them from getting worse. Use a needle and thread matching the fabric color. Sew the tear from the inside to hide the stitches.
If the fabric has a snag, use a small pair of scissors to trim it. Be careful not to cut the surrounding fabric. For more significant damage, consider using a fabric patch. Cut a piece of matching fabric and glue or sew it over the damaged area.
Frequently Asked Questions
How Do You Reupholster A Bench Seat?
To reupholster a bench seat, remove the old fabric and padding. Attach new padding and fabric using a staple gun.
What Tools Are Needed To Reupholster A Bench?
You will need a staple gun, fabric scissors, a screwdriver, and upholstery fabric. Additional tools may include pliers and a foam cutter.
How Much Fabric Is Required For A Bench?
Measure the bench dimensions and add a few extra inches for wrapping. Typically, 2-3 yards of fabric is enough.
Can I Reupholster A Bench Myself?
Yes, reupholstering a bench is a manageable DIY project. With the right tools and materials, you can do it yourself.
Conclusion
Reupholstering a bench can be a rewarding project. It refreshes your furniture. Plus, it saves money. Follow the steps carefully for the best results. Choose the right fabric. Take your time with measurements. Secure the fabric tightly. Enjoy your newly updated bench.
With practice, your skills will improve. Your home will look better with your personal touch. Try reupholstering other furniture pieces next. Happy crafting!